 Merken
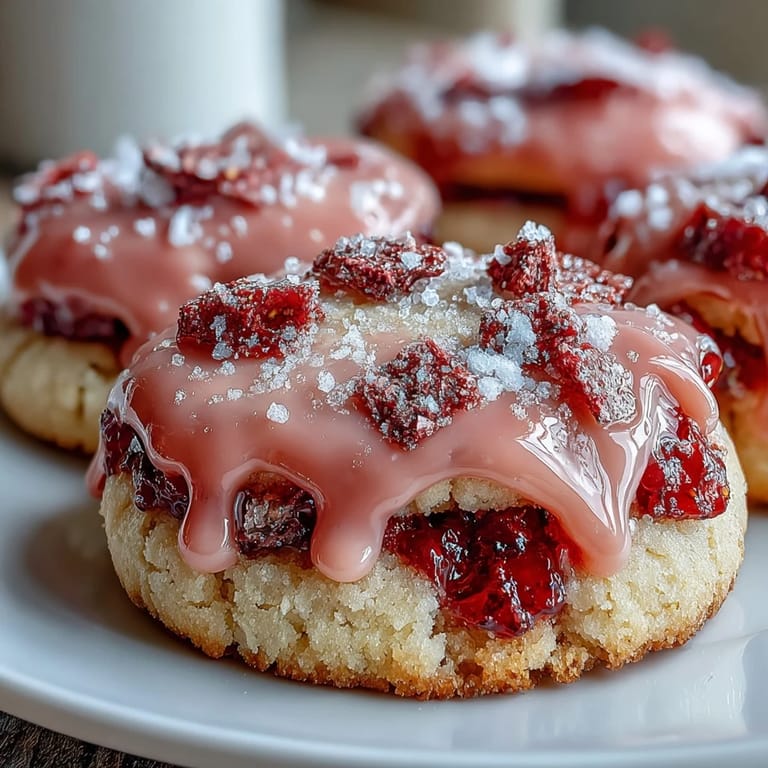
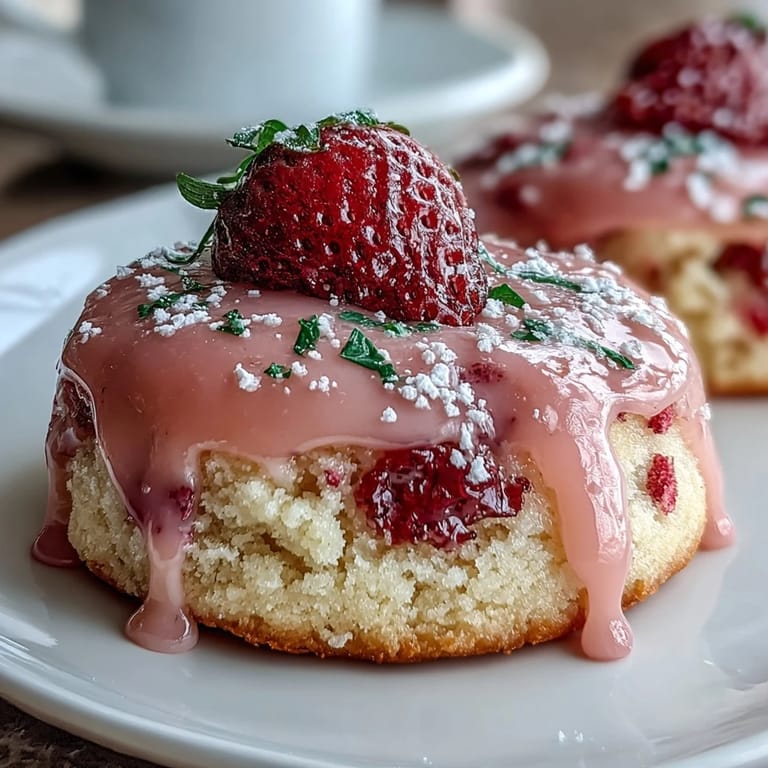
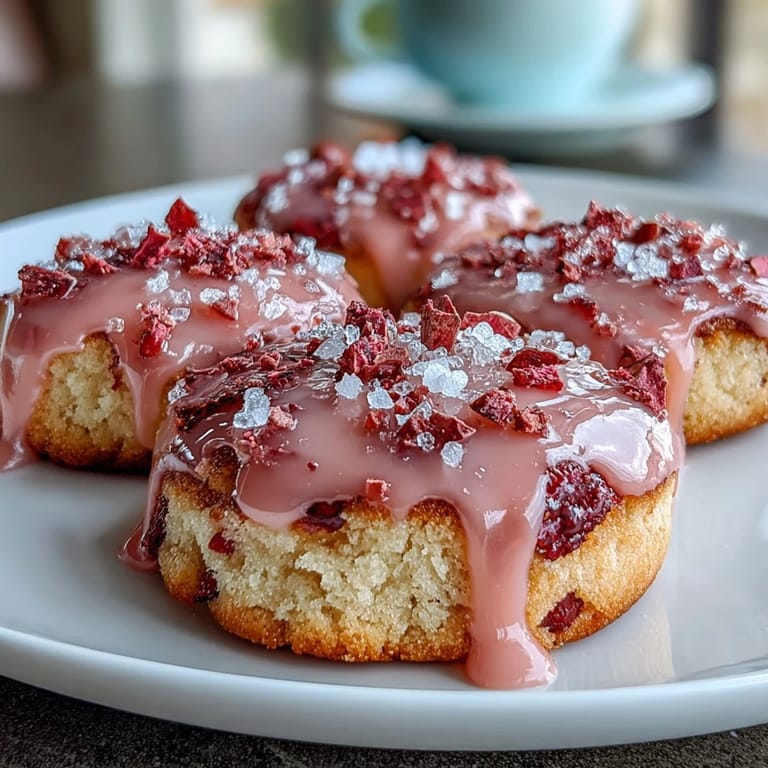
 My neighbor handed me a container of freeze-dried strawberries last summer, and I spent an afternoon wondering what to do with them until I thought: why not bake them into something delicate? These soft strawberry sugar cookies were the answer, and they turned out so tender that they practically dissolve on your tongue. The pink icing is just as important as the cookie itself, creating that perfect balance of sweetness with a whisper of real strawberry flavor. Now I make them whenever I need something that feels special but doesn't demand hours in the kitchen.
I brought a plate of these to a book club meeting during a rainy spring afternoon, and someone actually stopped mid-sentence to ask for the recipe. That's when I knew I'd found something worth perfecting. There's something about the combination of tender cookie and silky icing that makes people pause and really taste what they're eating.
Ingredients
- All-purpose flour (2 ½ cups): The foundation of tender cookies—don't sift unless your flour is lumpy, as too much air makes them spread too much.
- Baking soda and cream of tartar (½ tsp each): This combination creates lift and spread better than baking powder alone, giving you that soft, slightly chewy texture.
- Salt (½ tsp): A small amount enhances the strawberry flavor and balances the sweetness beautifully.
- Unsalted butter and neutral oil (½ cup each): The oil keeps these cookies impossibly soft while the butter adds richness—use both for the best result.
- Granulated sugar (1 cup): This is your sweetness anchor, so don't reduce it or the cookies will be flat.
- Freeze-dried strawberries (⅓ cup, finely crushed): These must be finely crushed, almost to a powder, so they distribute evenly and add real strawberry flavor without adding moisture.
- Egg and vanilla extract: One large egg binds everything and adds richness; pure vanilla matters more here than you'd think.
- Milk (2 tbsp): Just enough to make the dough come together—add it gradually so you don't oversaturate the dough.
- Powdered sugar (1 ½ cups): The icing base—sift it if it's lumpy so your glaze becomes silky.
- Strawberry powder and milk for icing: More freeze-dried strawberries, crushed fine, give the icing color and flavor without needing artificial food coloring.
Tired of Takeout? 🥡
Get 10 meals you can make faster than delivery arrives. Seriously.
One email. No spam. Unsubscribe anytime.
Instructions
- Set up your oven and prep the pans:
- Preheat to 350°F and line two baking sheets with parchment paper. This temperature is crucial—too hot and the edges brown before the centers cook, too cool and they spread too thin.
- Combine your dry ingredients:
- Whisk flour, baking soda, cream of tartar, and salt in a medium bowl. Setting them aside now means you won't miss anything when you're mixing.
- Cream the butter, oil, and sugar:
- Beat them together for 2–3 minutes until the mixture looks light and creamy, almost fluffy. This creates tiny air pockets that make your cookies tender.
- Add the strawberry magic:
- Mix in the crushed freeze-dried strawberries, egg, and vanilla until everything is well combined. The dough should start looking slightly pink.
- Bring it all together gently:
- Alternate adding the flour mixture and milk, stirring after each addition until you have a soft, slightly sticky dough. Don't overmix or your cookies will be tough.
- Scoop and shape:
- Use a rounded tablespoon to portion dough onto your prepared sheets, leaving 2 inches between each ball. Gently press each one flat with the bottom of a glass—they'll spread a bit more in the oven.
- Bake until barely set:
- Watch carefully at 11 minutes; they're done when the edges look just set but the centers still jiggle slightly. This is the secret to keeping them soft.
- Cool with patience:
- Let them sit on the baking sheet for 5 minutes so they firm up just enough to move, then transfer to a wire rack. Cooling completely is non-negotiable for the icing to set properly.
- Make the icing:
- Whisk powdered sugar, strawberry powder, melted butter, vanilla, and 2 tablespoons milk until smooth and pourable. If it's too thick, add milk a teaspoon at a time.
- Ice and finish:
- Spoon or drizzle the icing over each completely cooled cookie. Waiting for them to cool completely keeps the icing from sliding off or melting into the cookie.
 Merken
 My daughter once called these the cookies that taste like spring, and I've borrowed that description ever since. There's something about strawberry and sugar together that just feels like the season is turning toward warmer days.
Why Freeze-Dried Strawberries Are Worth It
Fresh strawberries would add moisture and make these cookies fall apart, but freeze-dried ones concentrate all the flavor while keeping the texture light. I've tried substituting other berries, and while raspberries add a nice tartness, strawberries really are the star here. The strawberry flavor comes through in every bite without overwhelming the delicate sweetness of the cookie itself.
The Oil and Butter Combination
Using both oil and butter sounds redundant until you taste the result—the butter gives you that classic sugar cookie richness, while the oil makes them stay soft for days instead of hardening by day two. I learned this trick when a batch made with only butter came out drier than I wanted, so now this is my standard approach. It's one of those small adjustments that feels like magic once you understand why it works.
Storage and Variations You Should Try
Keep these in an airtight container at room temperature for up to four days, and they'll stay tender thanks to the oil in the dough. You can also freeze the undecorated cookies for up to a month, then thaw and ice them whenever you need them. If you want to experiment, try adding lemon zest to the icing for brightness, or swap the strawberries for freeze-dried raspberries if you like something a bit more tart.
- Raspberry version brings tartness that pairs beautifully with a cup of tea.
- Lemon zest in the icing adds a fresh note that feels less sweet overall.
- These pair perfectly with rosé or sparkling lemonade on a spring afternoon.
 Merken
 These cookies have become my go-to for spring gatherings, and I love that they look impressive while being surprisingly straightforward to make. They taste like you spent hours in the kitchen, which is the best kind of recipe.
Rezept-Fragen & Antworten
- → Wie bekomme ich die Kekse besonders weich?
Vermeide das Überbacken und nimm die Kekse heraus, sobald die Ränder leicht fest sind. Die Mitte sollte noch weich sein, damit sie beim Abkühlen schön zart bleiben.
- → Kann ich gefriergetrocknete Erdbeeren ersetzen?
Ja, gefriergetrocknete Himbeeren eignen sich gut für eine leicht säuerliche Note und verändern die Farbe der Glasur interessant.
- → Wie erreiche ich die rosa Farbe der Glasur?
Die rosa Farbe stammt hauptsächlich vom Erdbeerpulver. Optional kann ein Tropfen rote Lebensmittelfarbe hinzugefügt werden, um die Farbe zu intensivieren.
- → Wie lange bleiben die Kekse frisch?
In einem luftdichten Behälter gelagert, bleiben die Kekse bis zu 4 Tage zart und frisch.
- → Welche Backtemperatur ist ideal?
350°F (175°C) sorgt für eine gleichmäßige Backung, bei der die Kekse außen leicht fest und innen weich bleiben.
- → Kann ich den Vanillextrakt durch etwas anderes ersetzen?
Ja, alternativ funktioniert auch Vanillezucker oder Vanillepaste, um eine dezente Vanillenote zu erzielen.